While browsing Instagram, you might have come across a profile with fun or striking font. You may be wondering how’s this possible if Instagram doesn’t allow users to change the font. Well, there are several websites available on the web which can quickly generate texts in different fonts. In this article, we will share a detailed guide on how to change Fonts on Instagram. The method which we will share below will work on both Android and iOS Instagram app. So, let’s check out. Also Read: How to Post an Instagram Story from PC/Laptop
Steps to Use Different Fonts On Instagram
To use different fonts on Instagram, you need to use font changer websites. As of now, there are hundreds of websites available out that that allows you to generate text in different fonts. Some of the popular websites that you can use are – LingoJam, FontGet, IGFont, etc. Step 1. First of all, open the text generator website of your choice. In this tutorial, we are using the LingoJam website.
Step 2. Now on the LingoJam website, type the text which you want to paste in Instagram.
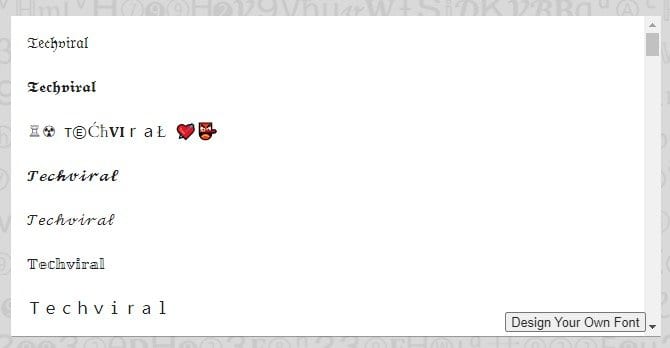
Step 3. On the right side box, you will find your text in a variety of fonts. Just copy one of your preferred fonts.
Step 4. Now head to the Instagram website from your phone or desktop web browser and login into your account. Step 5. Now toggle over to your profile by clicking the profile picture. Next, click on the ‘Profile.’
Step 6. On the next page, click on the ‘Edit Profile’ button.
Step 7. Paste the font that you have copied from the Lingojam website in the Bio section.
Step 8. You can even use the custom font on Comments, Bio, Captions, and even Instagram stories.
That’s it! You are done. This is how you can use different fonts on Instagram. So, this article is all about how to use different fonts on Instagram. I hope this article helped you! Please share it with your friends also. If you have any doubts related to this, let us know in the comment box below.
Δ


