After capturing a screenshot, you need to open the Microsoft Paint app and press the CTRL+V button to paste the screenshot. Yes, it’s easy to grab screenshots from the Pain app, but it’s not convenient. Besides the Print Screen function, Windows 11 also offers a screenshot utility known as the Snipping tool. Snipping Tool provides various modes to capture a screenshot, but it can’t capture scrolling screenshots in Windows 11. You must use third-party apps or browser extensions to capture a scrolling screen. Hence, if you are interested in capturing scrolling screenshots in Windows 11, you are reading the right guide.
Take Scrolling Screenshots on Windows 11
Below, we have shared a few best and free methods to capture scrolling screenshots on Windows 11. So, let’s get started.
1) Capture Scrolling Screenshots using Chrome Browser
You need to rely on Chrome extensions if you want to capture a scrolling screenshot of your favorite webpage. GoFullPage is a chrome extension that can capture full-page screenshots of any webpage.
First, open the GoFullPage Chrome extension page and click on the Add to Chrome button.
On the confirmation prompt, click on the Add extension.
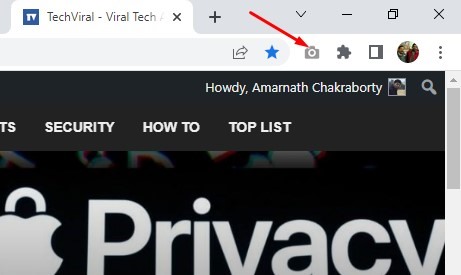
Now wait until the GoFullPage extension installs on your Chrome browser. Once installed, you will find a new icon in the extension bar.
Open the webpage where you want to capture a scrolling screenshot. Next, click on the GoFullPage extension icon.
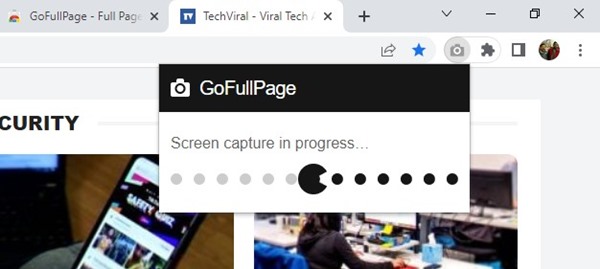
The extension will automatically scroll through the webpage and capture a full-page screenshot.
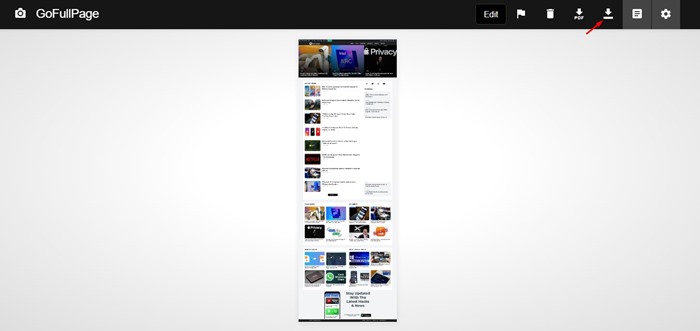
Now, you will see the captured screenshot in a new tab. Simply click on the Download icon to download the full-page screenshot on your computer.
That’s it! This is how you can use the GoFullPage extension to capture scrolling screenshots of any webpage.
2) Capture Scrolling Screenshots on Windows 11 with PicPick
PicPick is an image editor that can capture scrolling screenshots on your Windows 11. The application is free to download and use and is also compatible with older versions of Windows. Here’s how to use PicPick to capture scrolling screenshots in Windows 11.
First of all, download & install PicPick on your Windows 11 computer.
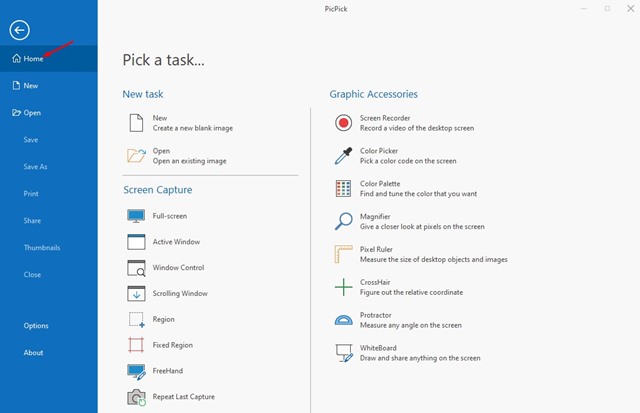
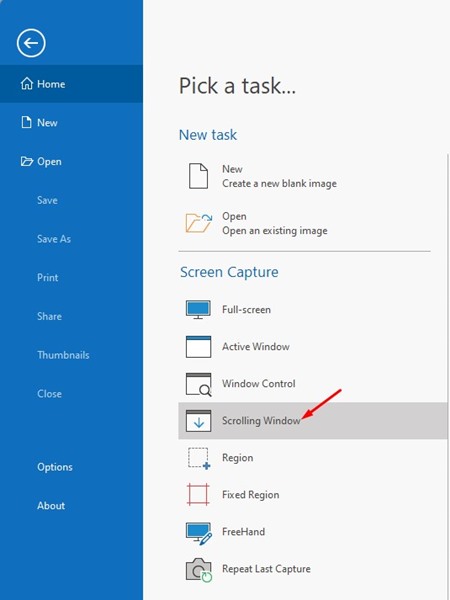
Once installed, open the program and switch to the Home menu on the left side.
On the right side, click on the Scrolling Window under Screen Capture.
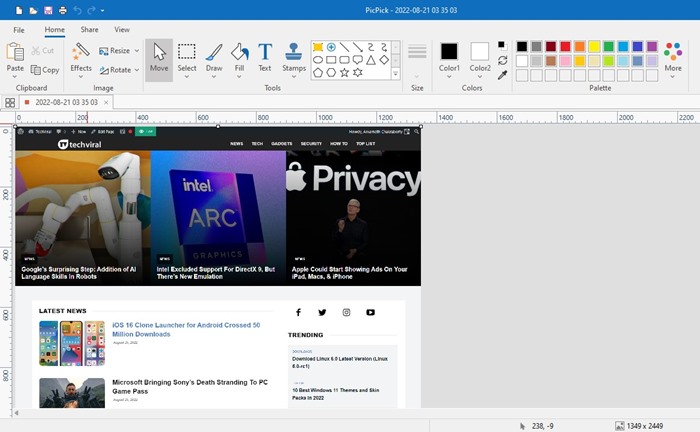
This will immediately capture a scrolling screenshot of your open apps or Window.
Once captured, you will have the option to resize, crop, or annotate the screenshots.
To save the screenshot, click on the File menu and select Save As. Next, select the save location and click on Save.
That’s it! This is how you can use PicPick to capture scrolling screenshots.
3) Capture Scrolling Screenshots using ShareX
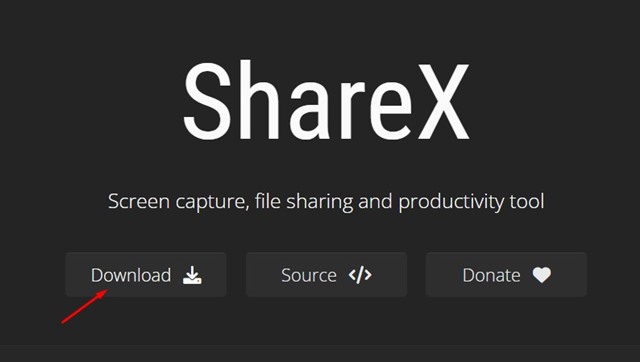
ShareX is one of the best and most popular screen capture, file sharing, and productivity tools available for Windows. You can also use ShareX to capture scrolling screenshots in easy steps.
Download & install ShareX on your Windows 11 computer.
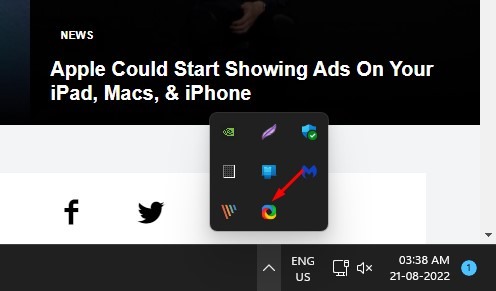
Once installed, you will find a new ShareX icon in your system tray. Now open the webpage or app window where you want to capture a scrolling screenshot.
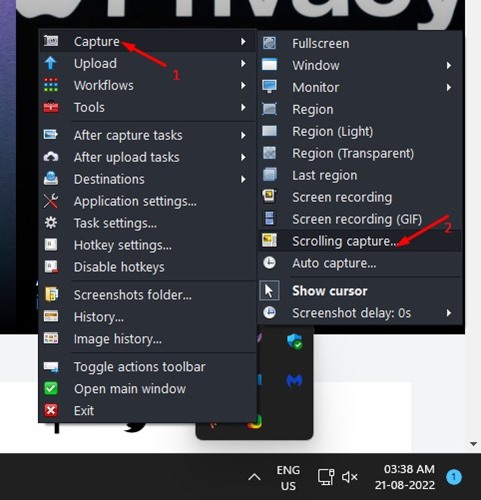
Right-click the ShareX icon on the system tray and select Capture > Scrolling Capture.
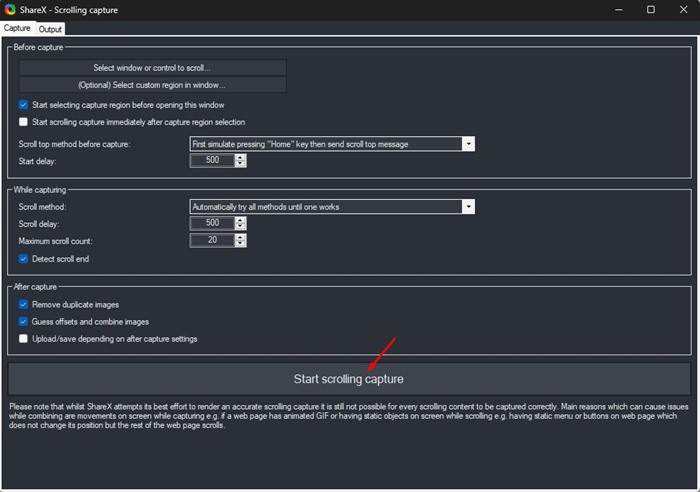
Now, ShareX will ask you to select a window to capture a full screenshot.
Now, ShareX will open the Capture Window. Here you need to make adjustments and click the Start Capture button.
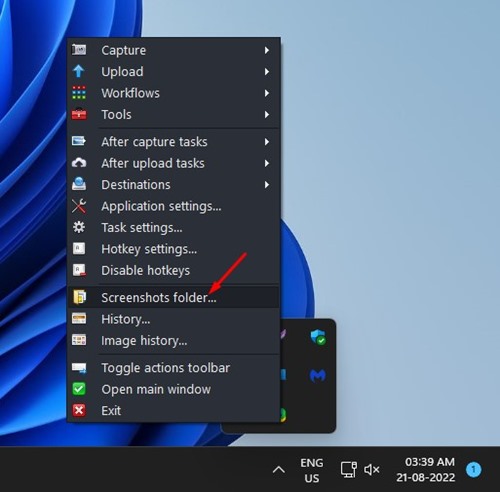
This will capture a scrolling screenshot on your Windows 11. To access the screenshot, right-click on the ShareX icon on the system tray and select ‘Screenshots folder‘
Also read: Windows 11 ISO Free Download Full Version (3 Methods) So, these are the three best ways to capture scrolling screenshots on Windows 11 pc. You can easily capture scrolling screenshots by following these three methods. Also, if you know any other ways to capture scrolling screenshots in Windows.
Δ