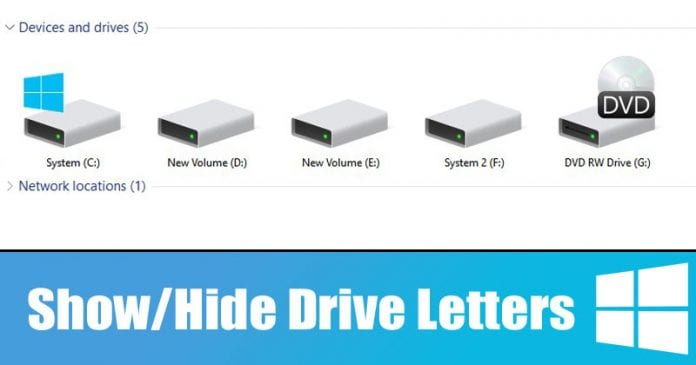
Windows file explorer displays both drives and drives letters for easy identification. The file explorer of Windows 10 can be configured to hide the drive letters or the drive that doesn’t have any letter assigned. So, in this article, we have decided to share a working method to show or hide drive letters in Windows 10 computers in 2020. So, let’s check out how to show or hide drive letters in Windows 10 computers.
Show or Hide Drive Letters in Windows 10
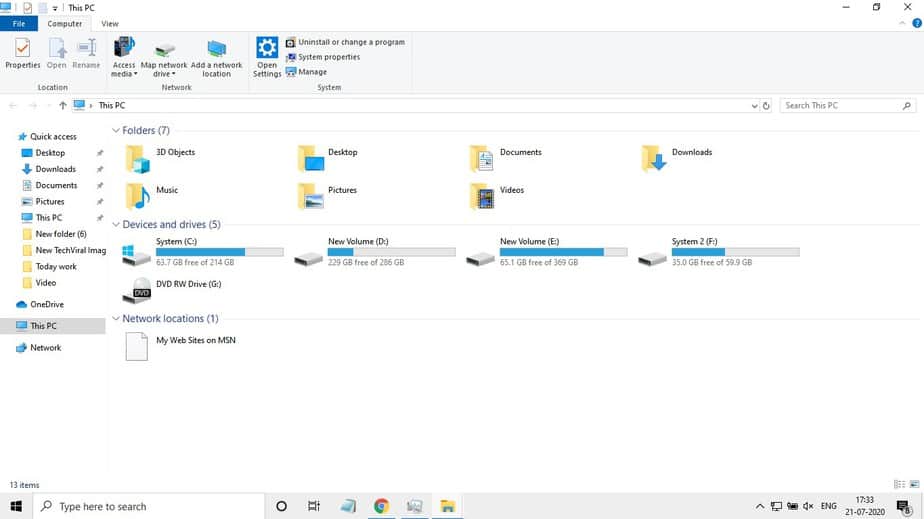
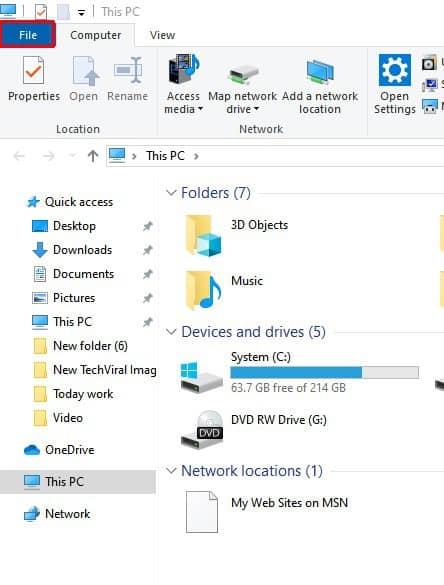
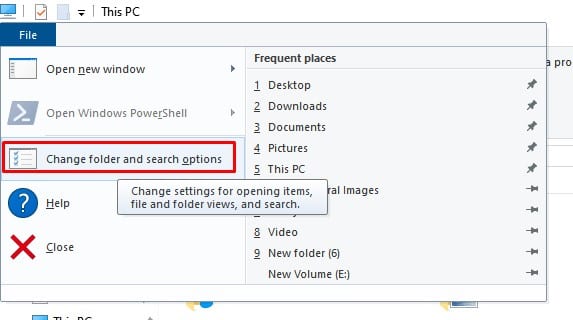
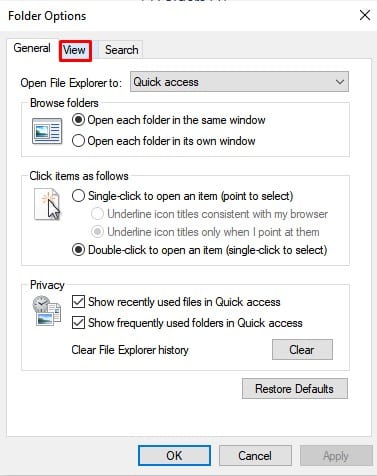
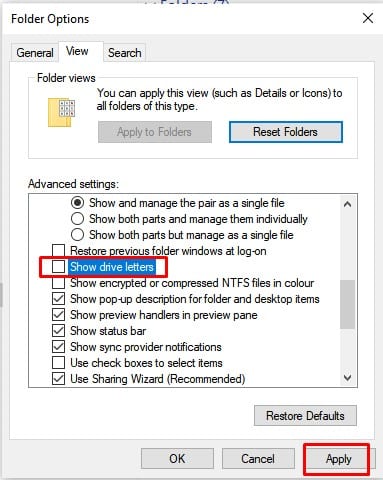
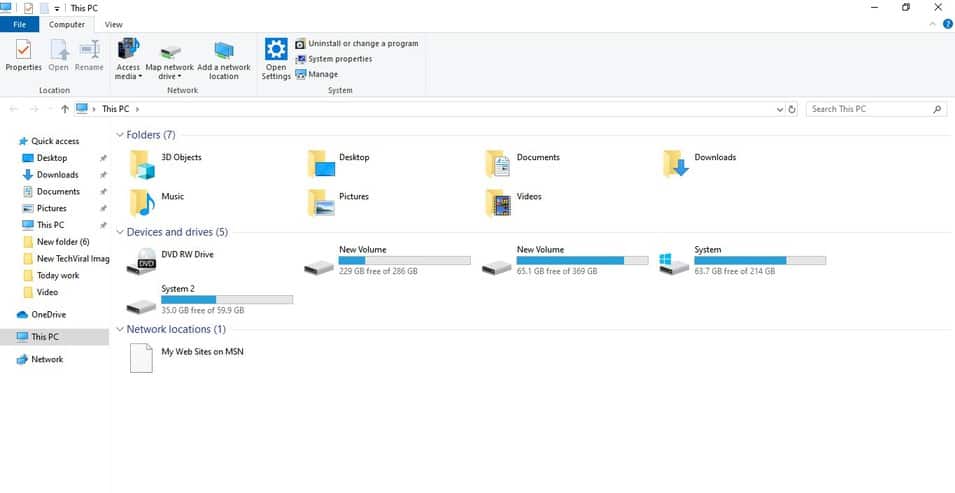
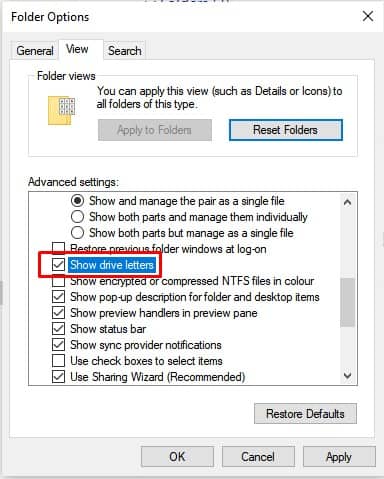
Note: We don’t recommend users to remove drive letters from the Disk Management utility. Programs may fail to start if you remove a drive letter from the disk management utility. Step 1. First of all, open File Explorer on your Windows 10 computer. Step 2. Now you need to click on the ‘File’ option. Step 3. Next, click on the ‘Change folder and search options’ Step 4. Under the Folder options, switch to the ‘View’ tab. Step 5. Under the view tab, untick the ‘Show drive letters’ option and click on ‘Apply’. Step 6. This will hide the drive letters. Step 7. To show the drive letters again, just enable the ‘Show drive letters’ option. That’s it! You are done. This is how you can show or hide drive letters in Windows 10. So, this article is all about how to show or hide drive letters in Windows 10 computers. I hope this article helped you! Share it with your friends also.
Δ