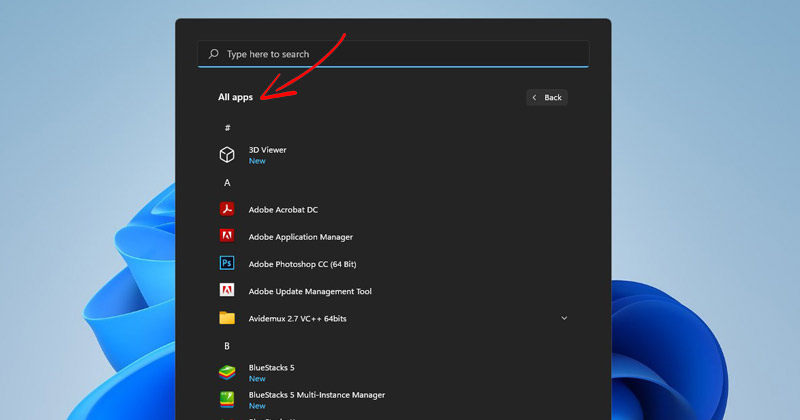
Additionally, Microsoft has changed the functionality of Windows 11’s Start Menu. If you have been using Windows 11 for a while, you might have noticed that the Start Menu doesn’t show all apps by default. Instead, it shows the newly installed apps, recently opened files, and the apps pinned to the Start menu. Yes, you can view the All Apps section, but you need to click on the All apps button located beside the Pinned text. While the stock look of the Start Menu suits well with the operating system, users can customize it to their liking. For example, you can customize the Windows 11 Start Menu to see all apps by default. If you do so, Windows 11’s Start Menu won’t display the pinned apps and recently used files which could have been a privacy concern for many.
Show ‘All Apps’ By Default in Windows 11 Start Menu
Hence, if you are looking for ways to open All Apps by default in Windows 11 Start Menu, you are reading the right guide. In this article, we will share a step-by-step guide on how to Show all apps by default in Windows 11. Let’s check out.
First of all, open your favorite web browser and open this Github link. Next, download the latest version of ExplorerPatcher.
Once downloaded, you need to run the ExplorerPatcher software to install it on your device.
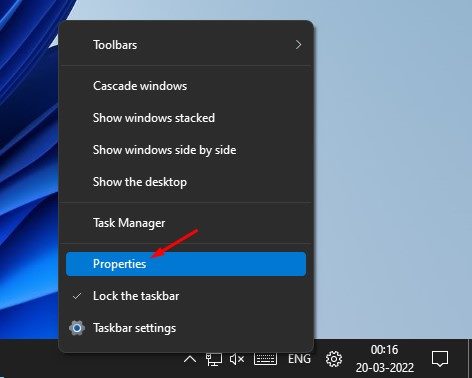
Since ExplorerPatcher doesn’t have any interface, you won’t see anything during the installation. Once installed, right-click on the Taskbar and select Properties.
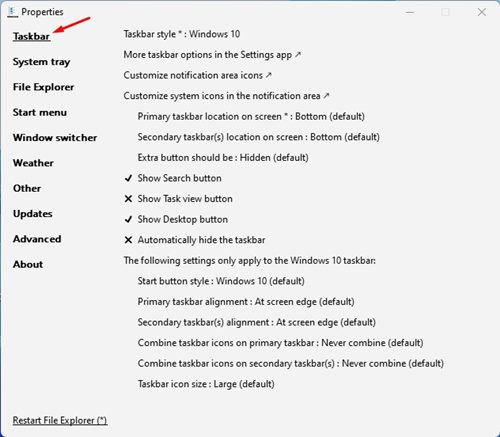
This will open the ExplorerPatcher’s Properties page. You need to switch to the Taskbar option.
On the right, select the Windows 11 (Default) on the Taskbar Style.
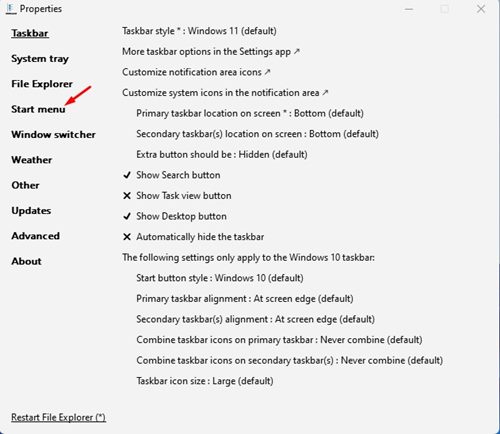
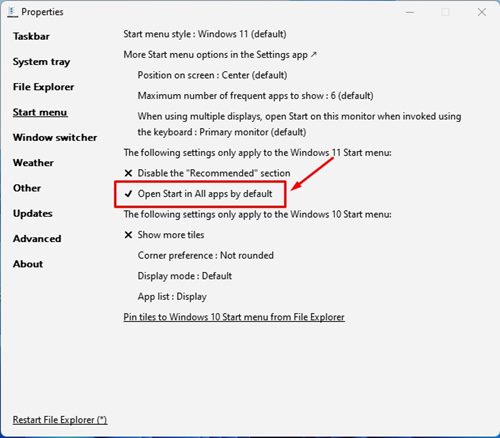
Now switch to the Start Menu option as shown below.
On the right, check the option Open Start in All apps by default.
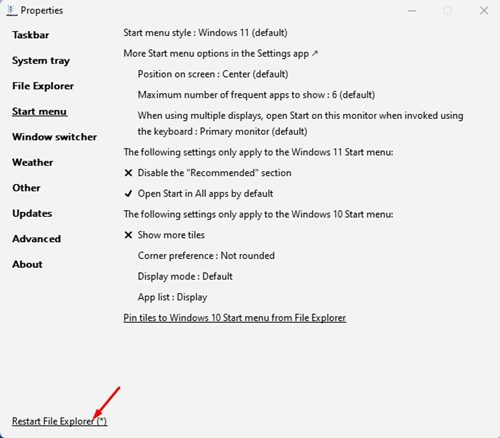
After making the changes, click on the Restart File Explorer button, as shown below.
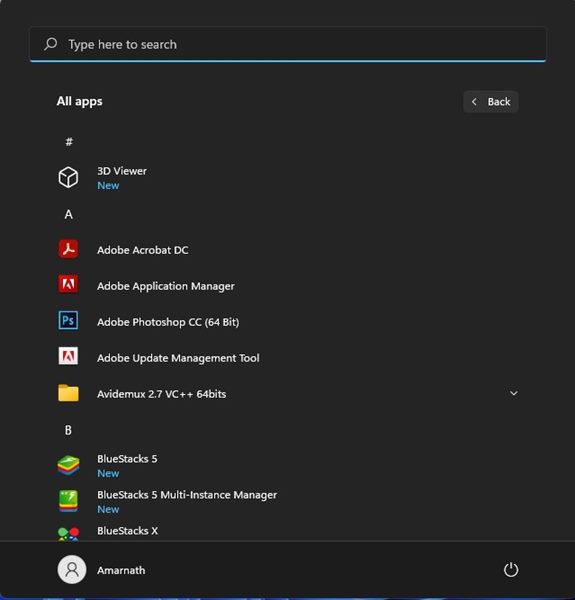
Important: At the time of writing ExplorerPatcher software has many bugs. You might have to make multiple attempts to open the Start Menu. If the interface has lagged or the screen is blacked out, you need to press the CTRL+ALT+DEL key and select the Task Manager. On the Taskmanager, click on File > Run New task. On the RUN dialog box, enter explorer.exe and hit the Enter button. That’s it! You are done. Now the Windows 11 Start menu will show All Apps by default.
It’s pretty easy to customize Windows 11’s Start Menu with ExplorerPatcher software. I hope this article helped you! Please share it with your friends also. If you have any doubts related to this, let us know in the comment box below.
Δ