If any USB device is write-protected, we can’t format, delete or move contents stored in it. If you try to delete or move the content, it will display an error message like ‘Disk is write-protected’, ‘Remove the write protection’, etc. Since we can’t access the write-protected flash drives, we need to remove the write protection first to make it accessible. Usually, flash drives often have a write protection switch, so make sure to check you’ve got the ‘lock’ switch in the correct position. Sometimes, the switch gets moved to the locked position when we insert it to a smartphone, camera, or any other device. So, make sure this isn’t happening.
Remove Write Protection From Sony Pen Drive
So, if the write protection button is not set to lock or the USB drive doesn’t have any write protection switch, then follow some of the simple methods given below. The below methods will not only remove write protection from Sony Pen Drive, but it will also work with Kingston, Toshiba, Samsung, Lexar, Transcend, and all other USB companies.
1. Using Command Prompt
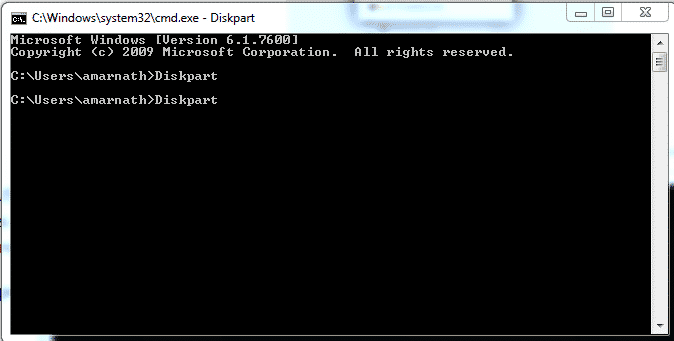
Well, Command Prompt is one of the useful features of the Windows operating system. Windows CMD can be used to fix lots of problems including Sony Pen Drive write protection. So, in this method, we are going to use Command Prompt to remove write protection from the Sony Pen drive. Step 1. First of all, open Command Prompt from the Start menu and run it as administrator. Step 2. On CMD, type in ‘Diskpart’ and press the Enter button.
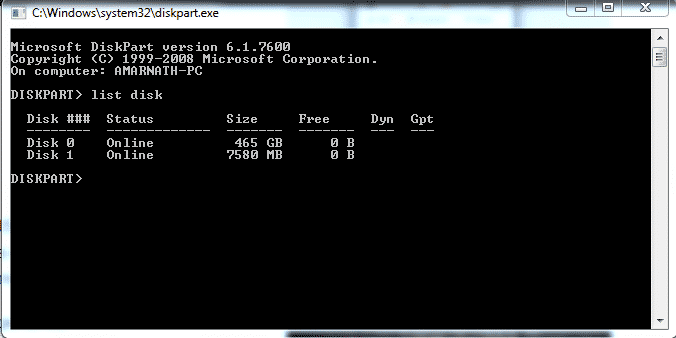
Step 3. In the next step, you need to type in ‘list disk’
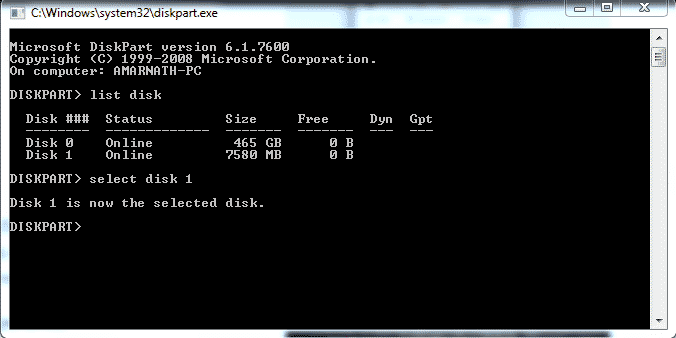
Step 4. Now you need to select the disk number on which the Pen Drive is assigned. Suppose it’s Disk 1, then type in ‘select disk 1’ and press enter.
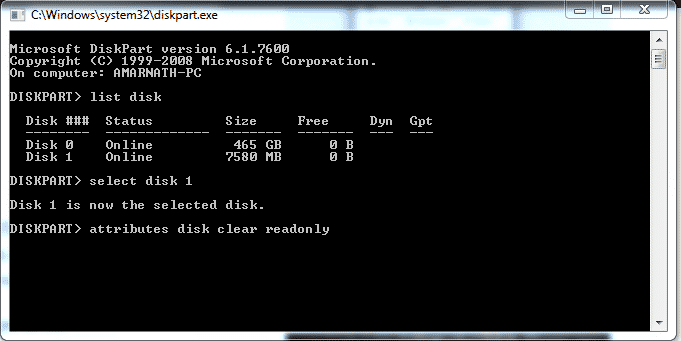
Step 5. In the next step, type in ‘attributes disk clear read only’ and then press Enter.
Step 6. In the final step, type in ‘exit’ to exit the Command Prompt. That’s it, you are done! This is how you can remove write protection from Sony Pen drive by using Command Prompt on Windows 10.
2. Using Registry Editor
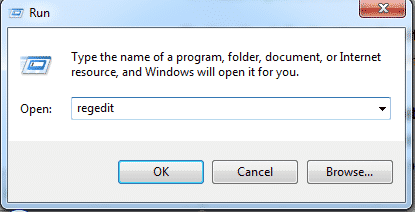
Well, in this method, we need to use some of the registry tweaks to remove write protection from the USB Pen drive. Since, we will be playing with Registry files, make sure to follow the steps carefully to avoid any additional errors. Here’s how you can use the Registry editor to remove write protection from Sony Pen Drives. Step 1. First of all, open a RUN dialog box on your computer and then type in ‘Regedit’
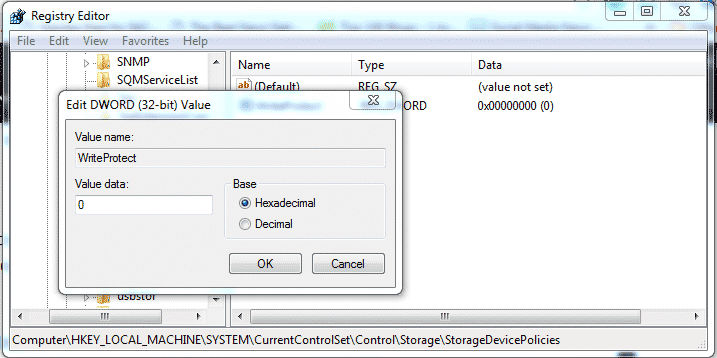
Step 2. Now on the Registry Editor, locate to the following path – “HKEY_LOCAL_MACHINE/SYSTEM/CurrentConrolSet/Control/StorageDevicePolicy” Step 3. In the next step, you will find a write protection option. Click on it and then set its value to ‘0’
That’s it, you are done! This is how you can use the Registry editor to remove write protection from Pen Drive.
So, these are the two best methods to remove write protection from Sony Pen Drive. If you have any other doubts, let us know in the comment box below. I hope this article helped you! Share it with your friends also.
Δ