These apps do nothing; they just run in the background and slows down the device. So, if you have lots of pre-installed apps on your smartphone and facing problems with the performance, you should uninstall them. Also, removing the pre-installed apps will free up some storage space. So, if you are looking for ways to remove bloatware from your Android, you are reading the right article.
Methods to Remove Bloatware From Android Device
In this article, we will share some of the best methods to remove bloatware from an Android. Let’s check out.
- Removing Bloatware Apps on Non-Rooted Android If you have a rooted Android device, you need to follow this guide to remove pre-installed apps from your smartphone. Step 1. First of all, you need to enable the developer option to enable by heading to Settings -> About Phone -> Build Number (Tap on build number 7-10 times, and your developer options will get activated). Step 2. You will now see the developer option in your settings, tap on it, scroll down, and enable USB Debugging.
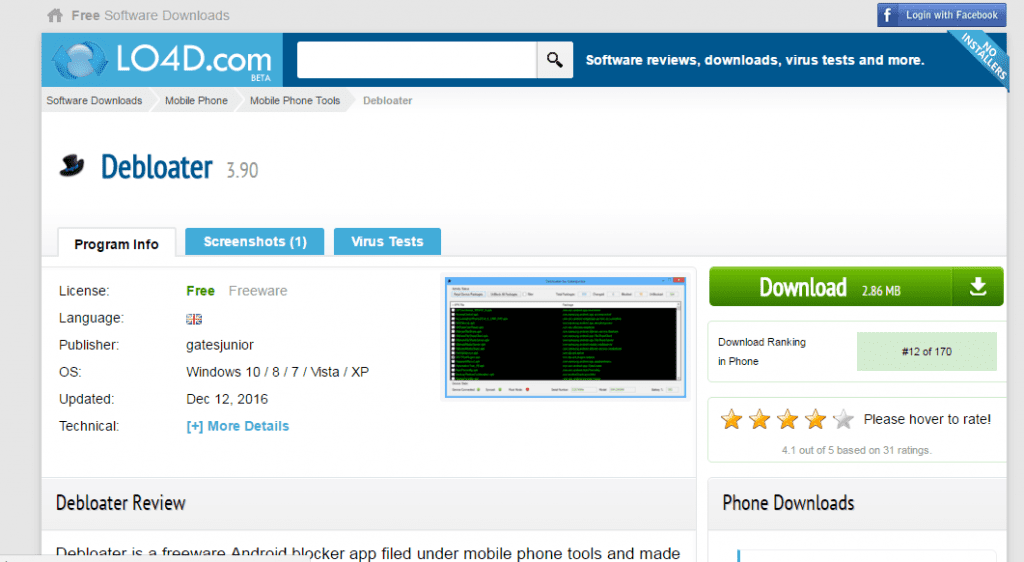
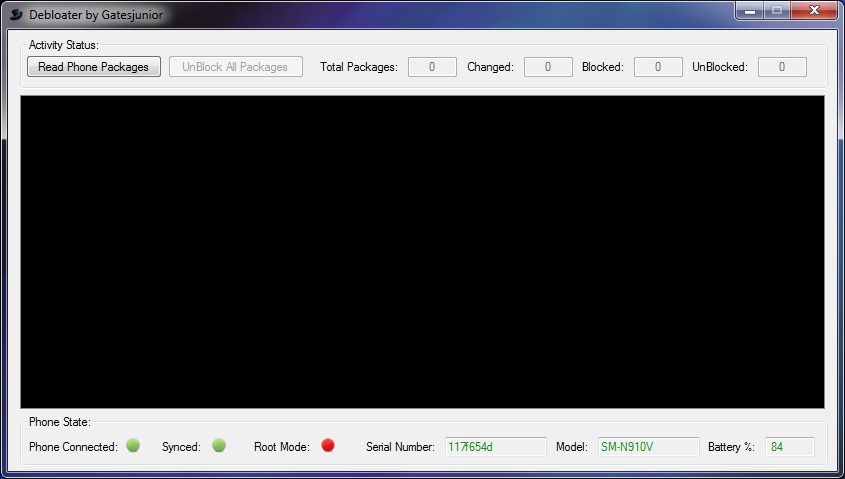
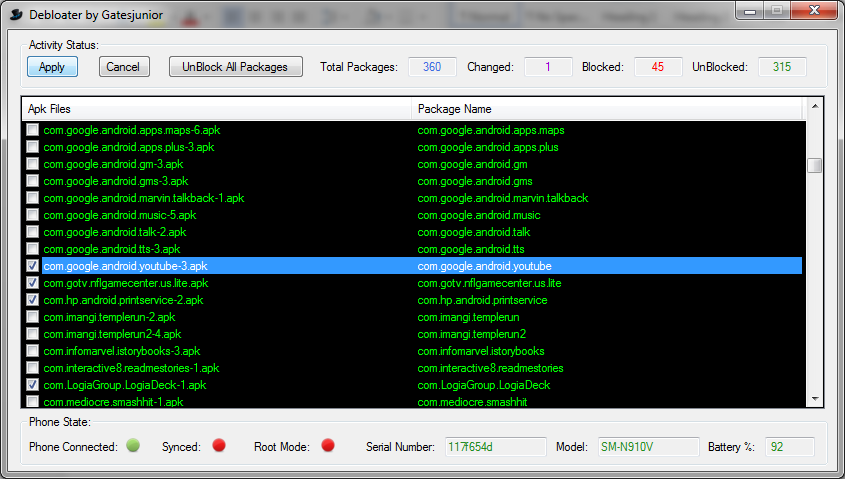
Step 3. Now you need to download and install the Debloater tool on your Windows PC that will allow you to remove system apps from your device. Step 4. Now connect your Android device with a USB cable to your PC and wait for the tool to detect your device.
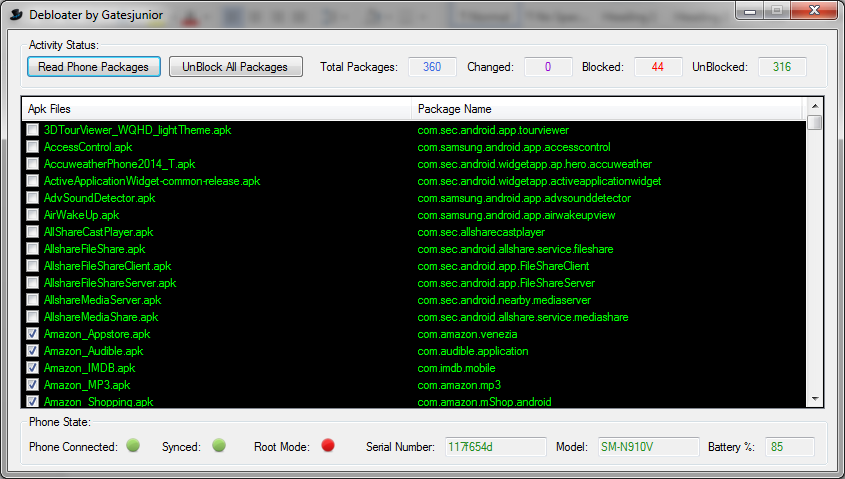
Step 5. After the device is detected, you will need to scan the apps currently installed on your device, including your system apps. Mark the apps that you want to remove.
Step 6. You need to click on the Apply button, and this will block all those apps from your device, and they will no longer be there on your device to consume your memory.
You can also undo this process by un-ticking them to re-access them. That’s it! You are done, now all those apps will be removed from your device, and your device storage will be free from them.
2. Using NoBloat (Root)
If you already have a rooted Android device, you can try the app NoBloat Free. This will let you remove all the bloatware apps that have no meaning in your device and are just compromising your security. So, this app will help you to remove all the bloatware apps. Step 1. First of all, download and install Nobloat free on your Android smartphone from here.
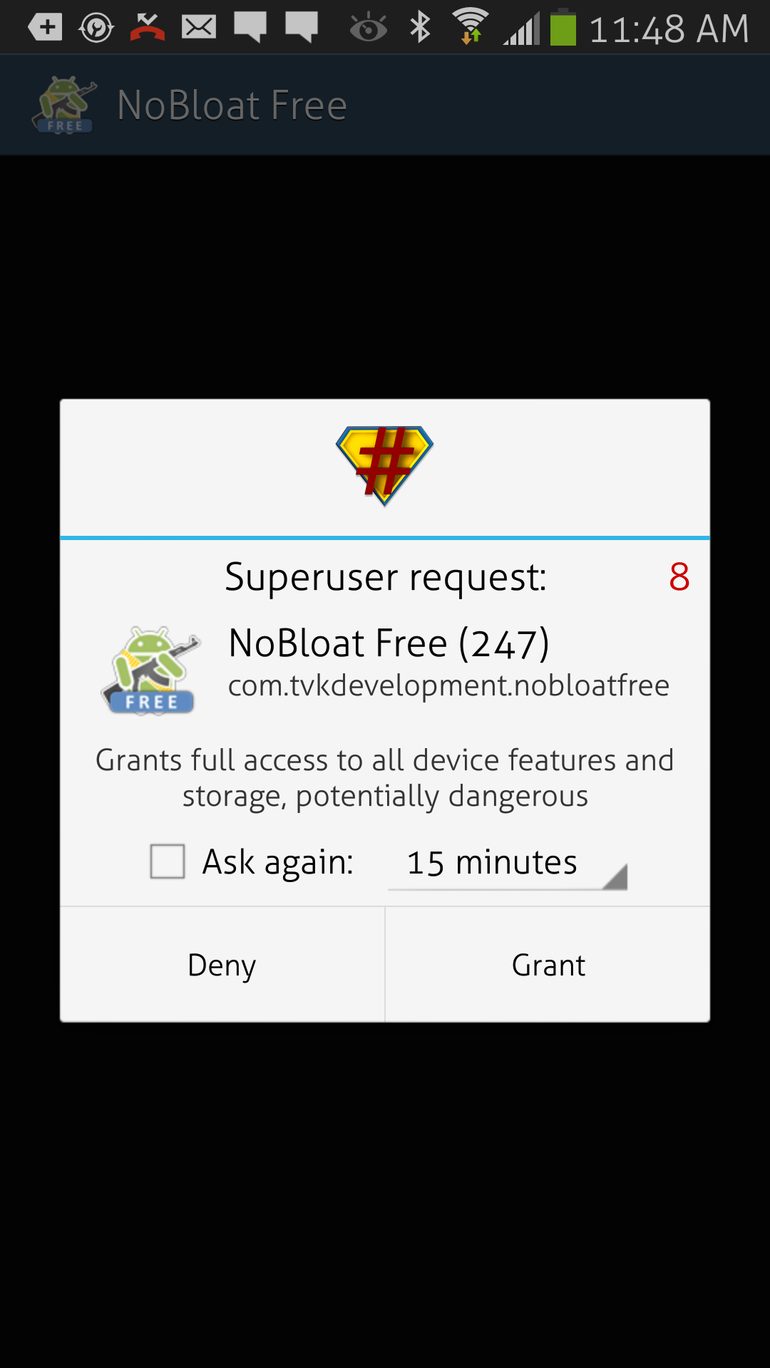
Step 2. Since the app needs a rooted Android device to work, it will ask you for root permission. Make sure to tap on ‘Grant‘ when SuperSU asks for root permission.
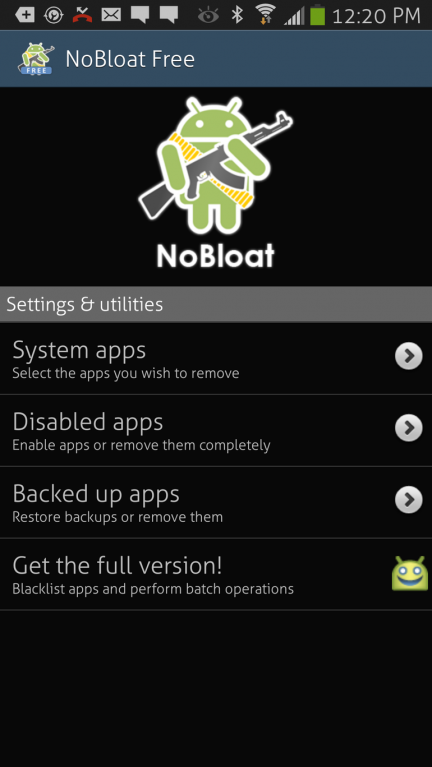
Step 3. Now you will see the main interface of Nobloat free for Android.
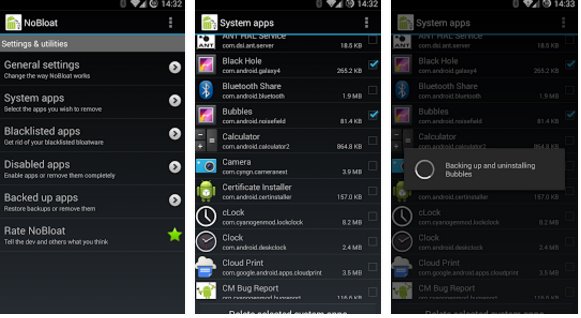
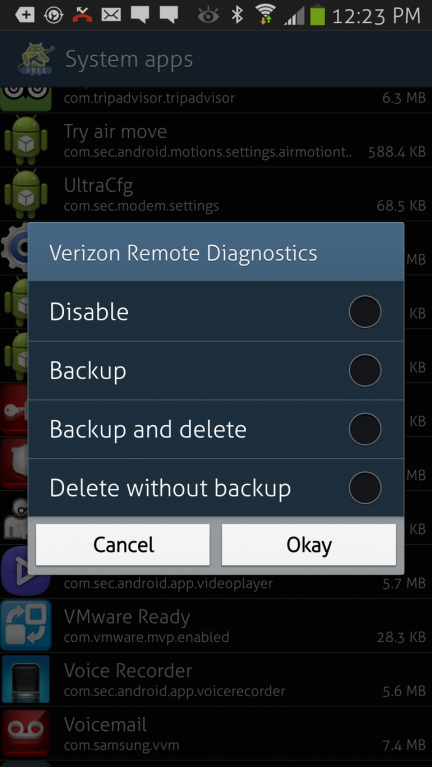
Step 4. Tap on the ‘System Apps’ and list all apps installed on your device, including the bloatware. Step 5. Now select the app you want to remove (bloatware) and select the option ‘Backup and delete’ or ‘Delete Without Backup.’ If you don’t want the tool, then select the ‘Delete without backup’ option.
That’s it; you are done! This is how you can use Nobloat free to remove bloatware from Android devices. If you have any other doubt, then make sure to discuss them with us in the comments.
3. Using System App Remover (Root)
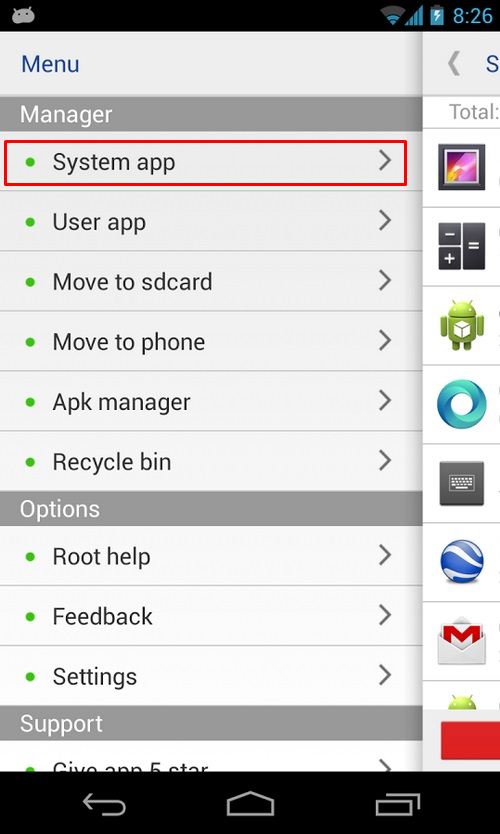
Step 1. First of all, you need to root your Android phone. For that, follow this article How To Root Android Without Risking Android Warranty. Step 2. Now install the app System App Remover from Google Play Store Step 3. Now launch the app and open the menu. From there, select the option ‘System App.’
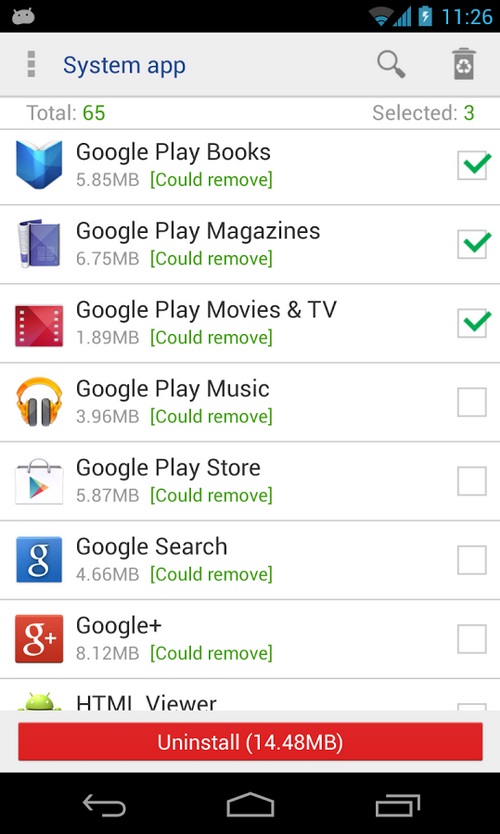
Step 4. , select the app that you want to remove and tap on ‘Uninstall.’
That’s it! You are done. This is one of the easiest ways to remove bloatware from your Android smartphone.
Get Rid Of Bloatware On a Rooted Phone
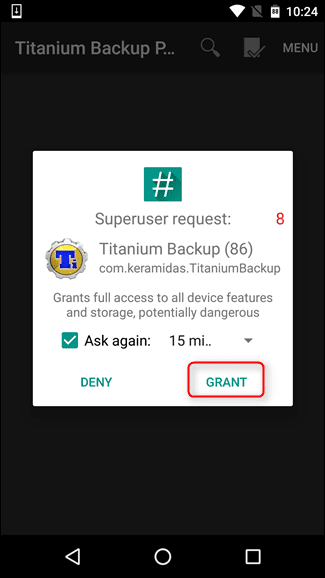
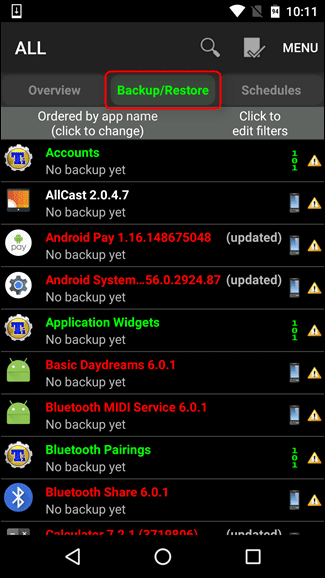
Well, this tutorial is for those who don’t want to go through all the hassle. If you have a rooted Android device, then you might choose to free the bloatware. Look, the method shared below will not help you remove apps; rather, it will help you freeze them. That means the bloatware will no longer consume your CPU Or RAM Resources. Step 1. First of all, download and install Titanium Pro on your Android Device. You can get the premium version from the Google Play Store. Step 2. Open the app and grant all the much-needed permissions.
Step 3. You need to select the ‘Backup/Restore’ tab to see the list of apps installed on your Android smartphone. Now you need to select the apps (Bloatware) which you want to freeze.
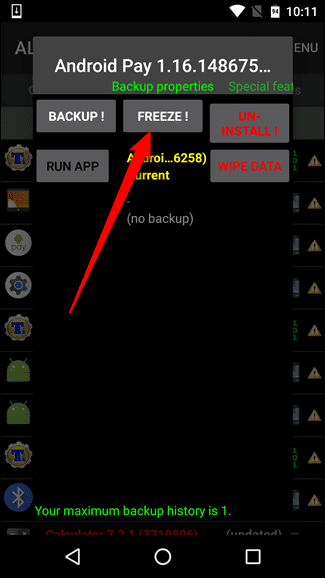
Step 4. Open the app and then tap on the ‘Freeze!’ button located at the top.
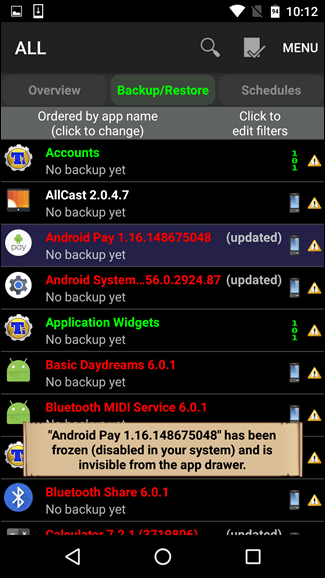
Step 5. Now, wait for few seconds until you get a notification that the app has been frozen.
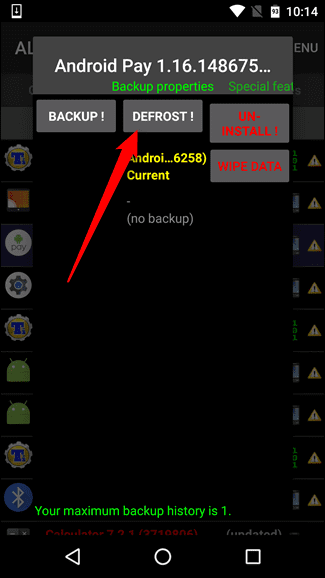
Step 6. Now, to unfreeze the frozen app, open the same app and tap on ‘Defrost!’
That’s it; you are done! This is how you can use Titanium Backup Pro to get rid of Bloatware on your Android smartphone. So the above guide is all about how to delete system apps on unrooted and rooted android. I hope this article helped you! Please share it with your friends also.
Δ
