Windows Insider Beta users can now download Windows 11 ISO on their system. However, if you prefer clean installation over an upgrade, you might like to create a Windows 11 Bootable USB first.
Steps to Install Windows 11 From USB (Full Guide)
It’s easy to create a Windows 11 bootable USB, provided you already have the Windows 11 ISO File. So, if you are interested in installing Windows 11 from a USB, you are reading the right article. This guide will share a step-by-step guide on installing Windows 11 from a USB.
Creating a Windows 11 Bootable USB
The first step includes creating a Windows 11 Bootable USB. First, make sure that you have the Windows 11 ISO file. Next, download & install Rufus on your computer. Run Rufus on your system, click the ‘Device‘ option and select the USB Pendrive. Next, on the Boot selection, select the Windows 11 ISO file. Select ‘GPT‘ on the Partition scheme and click the ‘Ready‘ option. Now, wait until Rufus creates a Windows 11 Bootable USB for a few minutes.
Clean Install Windows 11 from USB
The next step includes flashing Windows 11 from a Bootable USB. Then, connect the Pendrive to the system where you want to install Windows 11. Next, restart your computer. As your PC boots up, you must press the boot key continuously. The boot key is usually F8, F9, Esc, F12, F10, Delete, etc. Next, follow the steps given below.
Select Boot from USB Drive or the USB Hard Drive option on the boot screen.
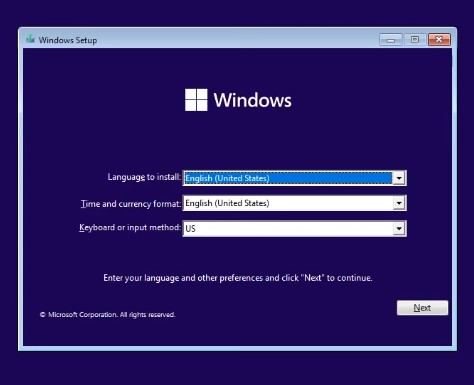
On the Windows 11 installation wizard, select the language, time, and keyboard, and click on the Next button.
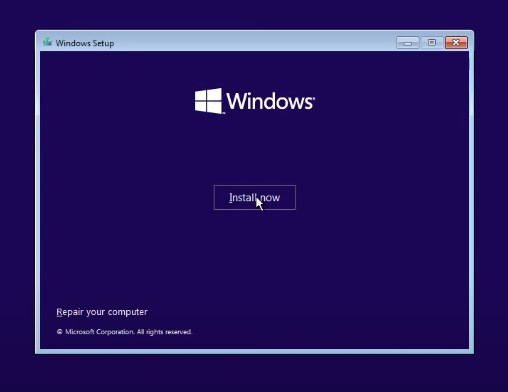
On the next Window, click on the Install Now option.
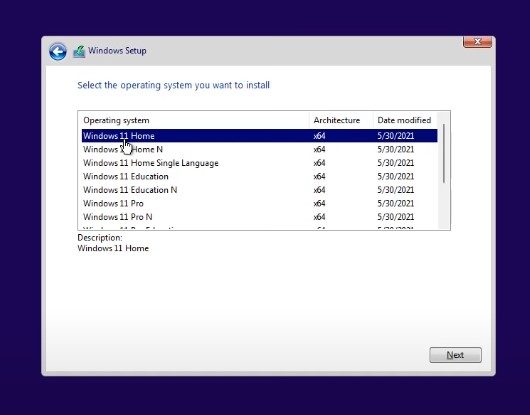
4. Next, click on the I don’t have a product key. Then, on the next page, select Windows 11 edition.
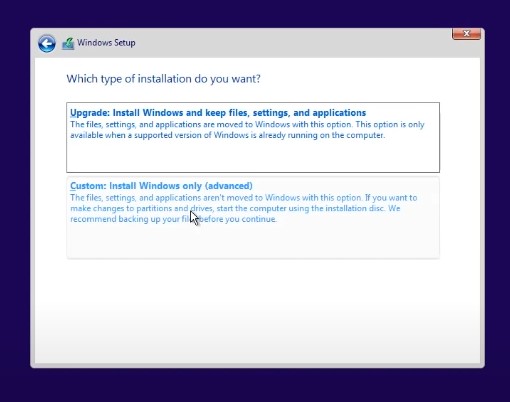
5. On the next screen, click on the Custom option.
Select the installation drive and click on the next button.
Now, wait until Windows 11 finishes the installation process.
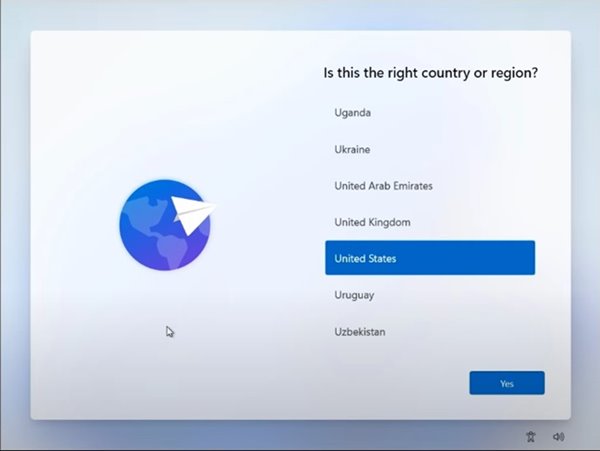
Your PC will restart and see the Windows 11 OOBE Setup screen. Here you need to follow the on-screen instructions to finish the setup process.
After completing the setup process, Windows 11 will take a few minutes to make the changes you have selected.
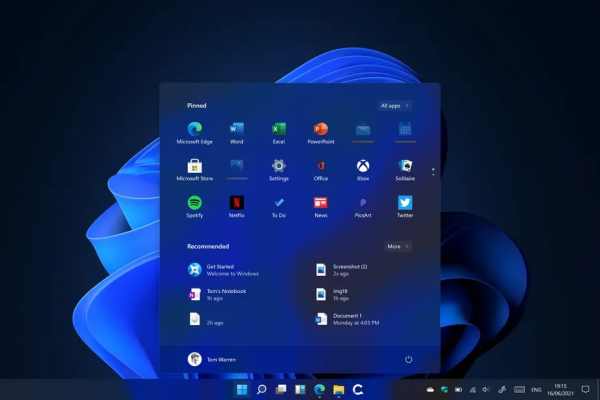
That’s it! Windows 11 will be live on your PC.
That’s it! You are done. This is how you can Clean install Windows 11 from a bootable USB. Also read: How to Download & Install Windows 11 On PC/Laptop So, this guide is all about how to install Windows 11 from a bootable USB. I hope this article helped you! Please share it with your friends also. If you have any doubts about this, let us know in the comment box below.
Δ