Microsoft’s new Windows 11 also lets you hide and unhide files and folders in the operating system. Although the process of hiding/unhiding files remains the same in Windows 11, users were unable to find the option due to the visual changes.
Steps to Hide Files, Folders & Drives in Windows 11
So, if you are looking for ways to hide files and folders in Windows 11, you are reading the right guide. In this article, we will share a step-by-step guide on hiding files and folders on Windows 11. Not only that, but we will also share a method to hide drives in Windows 11. Let’s check out.
1. Hide Files & Folders in Windows 11
Well, hiding files & folders are pretty easy on Windows 11. You don’t need to use any third-party software or change the registry to hide specific files/folders. Instead, you need to open the file explorer, select the files, and make changes.
First of all, open the file explorer and browse to the file or folder you want to hide.
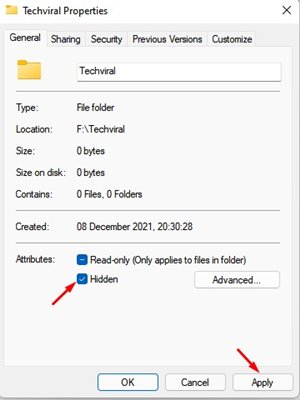
Right-click on the file or folder and select Properties.
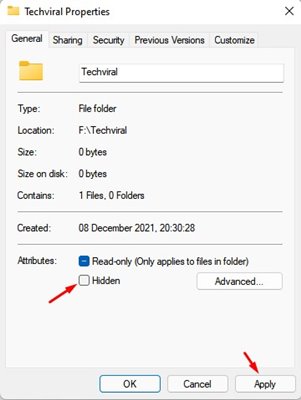
On the Properties, check the Hidden box and click on the Ok button.
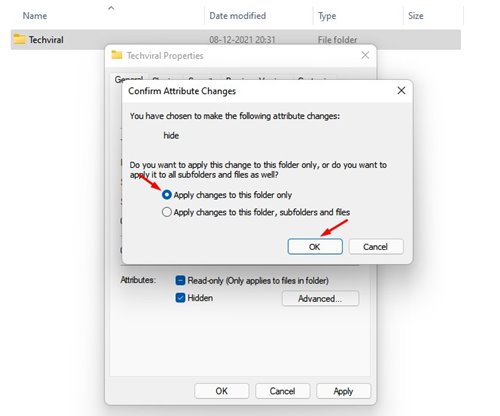
On the confirmation popup, click on the ‘Apply changes to this folder only’ option and click on the Ok button.
How to Show Hidden Files & Folders?
After hiding a file, if you wish to unhide it, you need to implement some of the simple steps below.
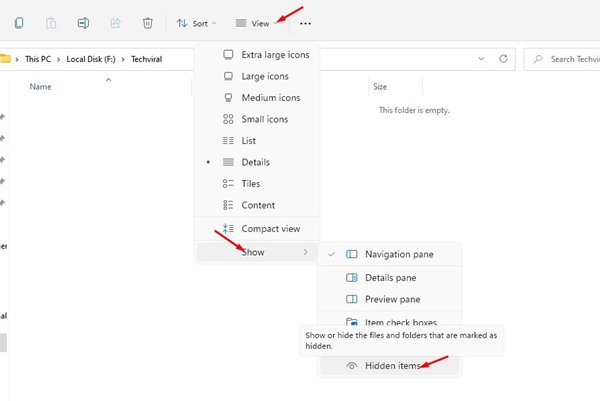
Open File Explorer and click on the View > Show. On the Show menu, select the Hidden items option.
This will show all hidden files and folders. Now right click on the hidden file you want to unhide and select Properties.
On the file/folder Properties page, uncheck the hidden option and click on the ‘Ok’ button.
That’s it! You are done. This will unhide the file/folder in Windows 11.
2. How to Hide a Drive in Windows 11
Just like files and folders, you can choose to hide an entire drive in Windows 11. The hidden drive will not appear on your File Explorer. Here’s what you need to do.
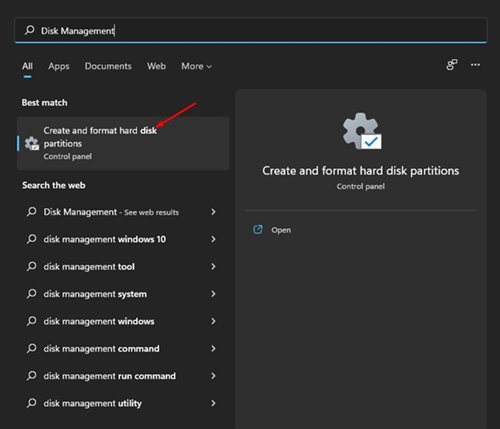
First of all, open Windows Search and type in Disk Management.
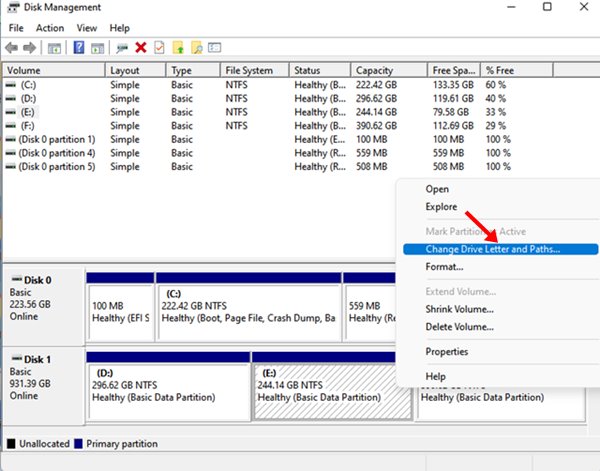
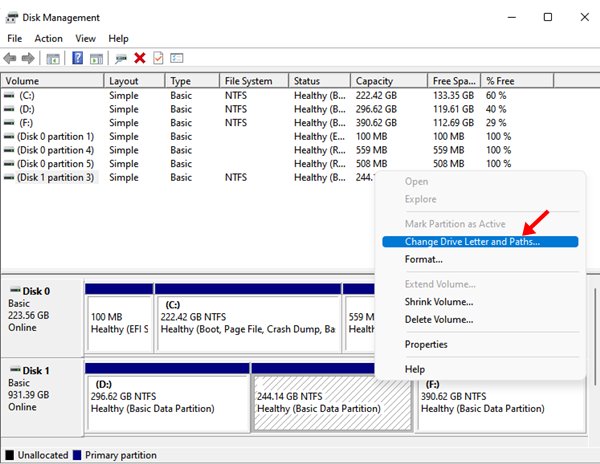
Open Disk Management from the list. On the Disk Management utility, right-click on the drive you want to drive and select the ‘Change Drive Letter and Paths..’ option.
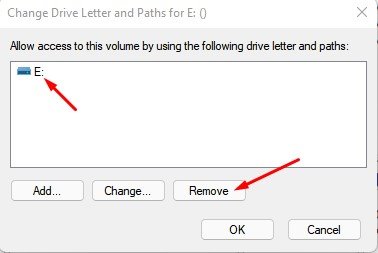
Now select the drive letter and click on the Remove button. You may get a warning; just click on the Yes button.
Now, open the File Explorer, you will see the drive is not available anymore.
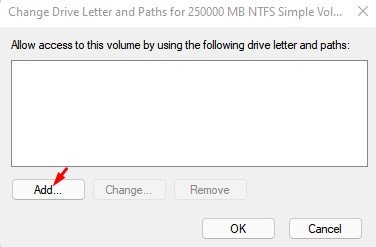
To bring back the drive, open Disk Management again and right-click on the Disk with no name. Then, select the ‘Change Drive Letter and paths..’ option.
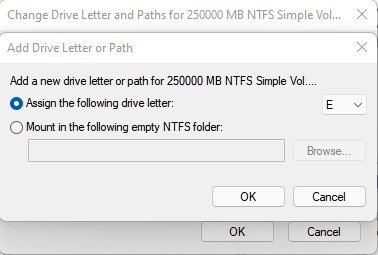
Now, you just need to add a drive letter to the drive. Once done, click on the Ok button.
That’s it! You are done. The drive will be back on the File Explorer. Also Read: How to Download & Install Fonts on Windows 11 Hiding files/folders and drives is pretty easy on Windows 11. You don’t need to rely on any third-party utilities to hide files on the new operating system. I hope this article helped you! Please share it with your friends also. If you have any doubts related to this, let us know in the comment box below.
Δ