What is WSA PacMan?
There is a way to run Google Play Store on Windows 11, but the process is lengthy. Recently, we spotted a new app called ‘WSA PacMan’, which lets you install Android apps without opening a command prompt or any system settings. WSA PacMan is available on GitHub for review and feedback, and it’s an open-source package manager built specifically for Windows Subsystem for Android. As you might have guessed, WSA PacMan runs the ADB Commands in the background to install Android apps and games. Also read: How to Install Google Play Store on Windows 11
Steps to Download & Install Android Apps in Windows 11
So, if you are looking for an easier method to download & install Android apps on Windows 11, you are reading the right guide. In this article, we will share a step-by-step guide on how to install Android apps on Windows 11. Let’s check out.
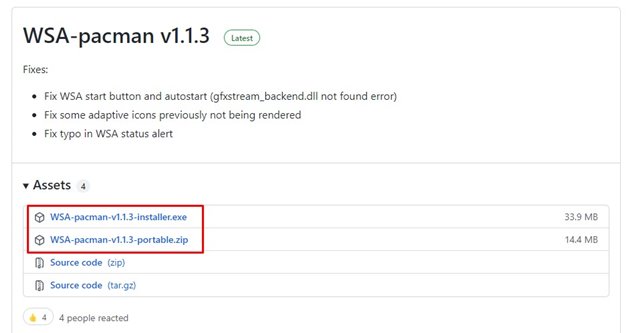
First of all, head to this GitHub page and download the latest version of WSA PacMan.
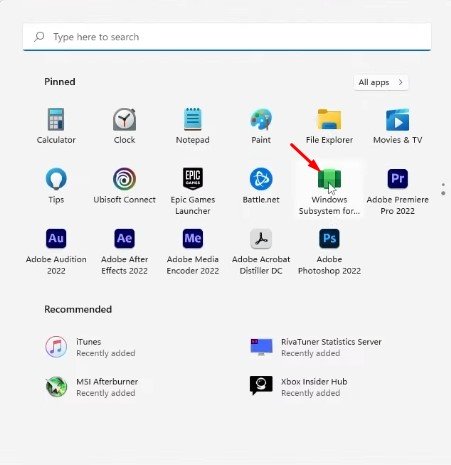
Once downloaded, you need to start Windows Subsystem for Android.
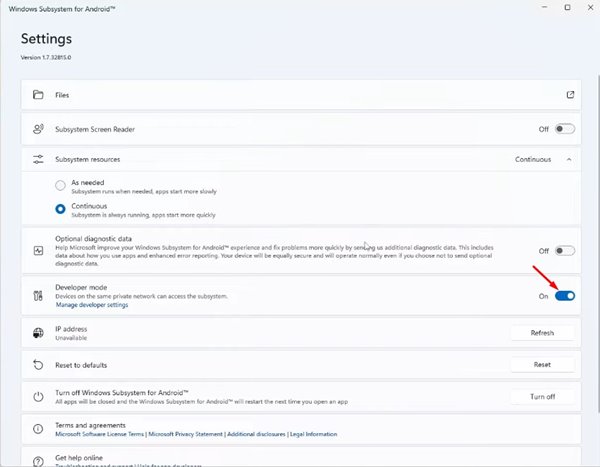
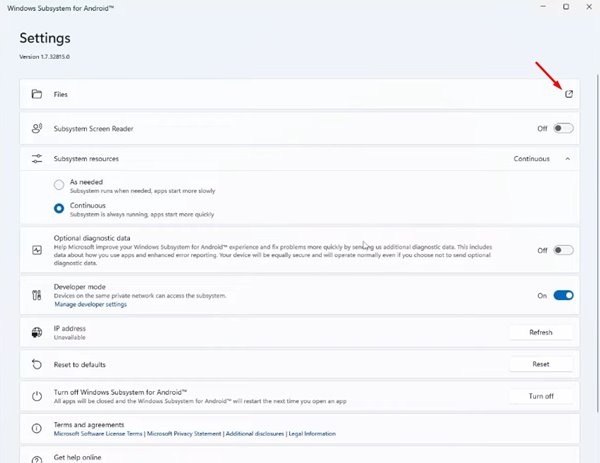
On the Windows Subsystem for Android, enable the Developer Mode option.
Next, click on the Files button on the WSA to start it.
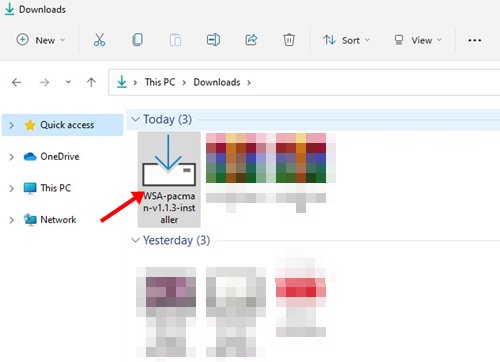
Once done, double click on the WSA PacMan and install it normally.
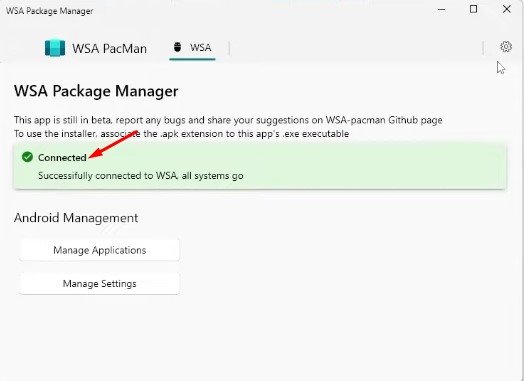
WSA PacMan should connect to Windows 11 WSA. If everything goes right, you will see a ‘Connected‘ message.
Once done, you need to have the APK file of the Android app that you want to install. Locate the APK file you want to install and double-click on it.
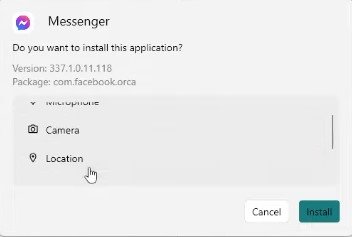
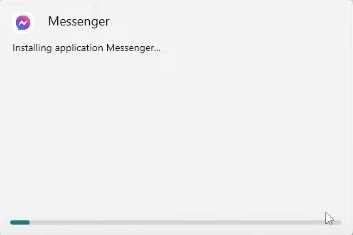
If everything goes right, you should see the Android app installation wizard. Go through the installation wizard to install the Android app on Windows 11.
That’s it! You are done. The installed Android app will appear on the Windows 11 Start menu. WSA PacMan is very useful, but it’s still under testing. So, it might have a few bugs, and users might face problems while installing apps. I hope this article helped you! Please share it with your friends also. If you have any doubts related to this, let us know in the comment box below.
Δ
