Despite being a top-rated web browser, it has few flaws. If you have been using Google Chrome on a computer for a while, then you might know that it consumes lots of system resources. Not only resources but Google Chrome also keeps hogging your internet bandwidth in the background for updating the browser. If we talk about Google Chrome updates, they are pretty unobtrusive. However, if you have decided you don’t want them to run automatically, there’s no setting in the browser to disable them. So, to disable the automatic chrome updates, you need to rely on the Windows services manager utility.
How To Disable Automatic Chrome Updates in Windows 10
So, in this article, we are going to share a few best methods to stop automatic chrome updates in Windows 10 computers. So, let’s check out how to stop automatic chrome updates in Windows 10 PC.
1. Using System Configuration Utility
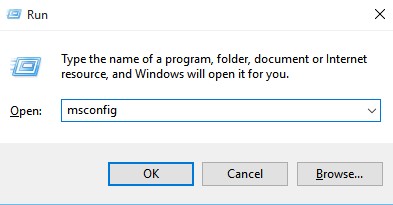
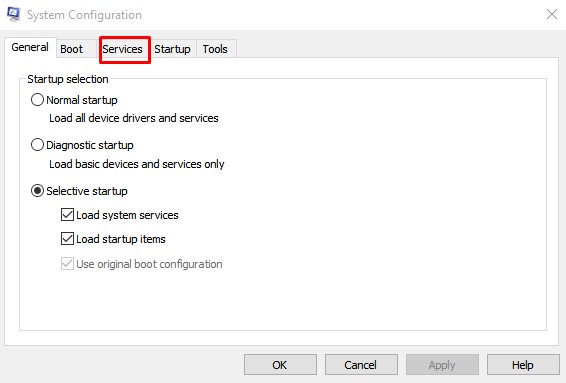
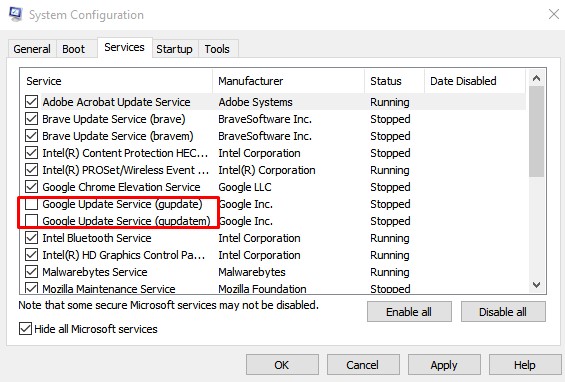
You can easily disable the automatic chrome updates from the System Configuration Utility. For those who don’t know, System Configuration Utility or MSConfig is a panel that lets you manage the running services. Follow the steps given below to disable automatic chrome updates via system configuration utility. Step 1. First of all, open the RUN dialog box by pressing Windows key + R. Step 2. On the RUN dialog box, enter ‘msconfig’ Step 3. This will open the System Configuration Utility. Step 4. From there, you need to open the ‘Services’ tab. Step 5. Uncheck the ‘Google Update Service (gupdate)’ and ‘Google Update Service (gupdatem)’. Step 6. Next click on the ‘Apply’ button and then on ‘Ok’ That’s it! You are done! This is how you can disable automatic chrome updates from Windows 10 PC.
2. Using the Windows Services Manager
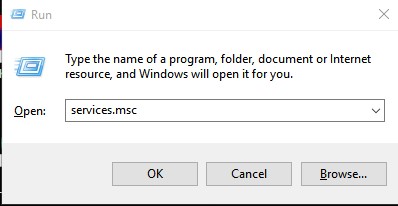
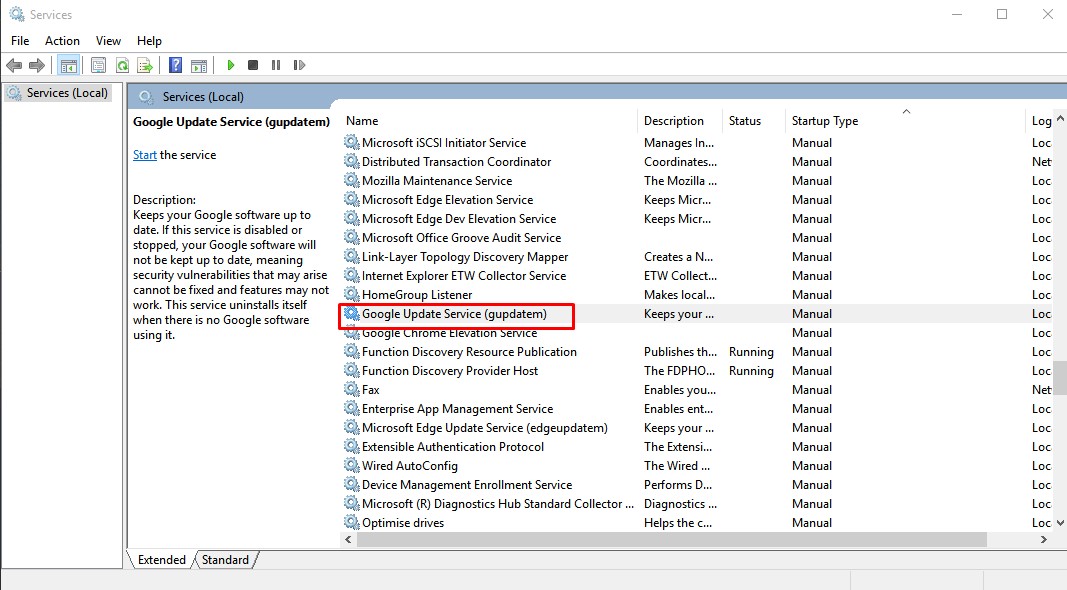
Just like Msconfig, you can utilize the Windows Services Manager to disable automatic chrome updates too. Follow some of the simple method given below to stop automatic chrome updates. Step 1. First of all, open the RUN dialog box by press Windows Key + R. Step 2. On the RUN dialog box, enter ‘services.msc’ Step 3. On the list of services, find ‘Google Update Services (gupdate)’ and ‘Google Update Services (gupdatem)’.
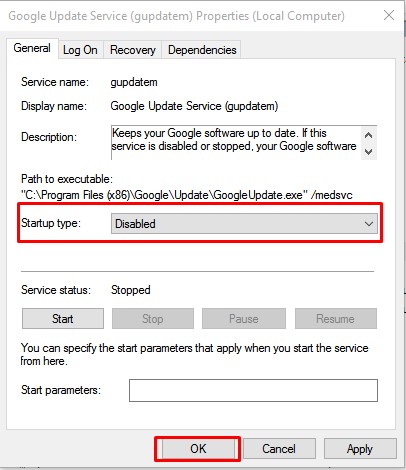
Step 4. You need to double click on both of them and select ‘Disable’ under the Startup type. Step 5. Finally, click on the ‘Ok’ button to apply the changes. That’s it! You are done. This is how you can stop automatic chrome updates on Windows 10. So, this article is all about how to stop automatic chrome updates in Windows. I hope this article helped you! Share it with your friends also.
Δ