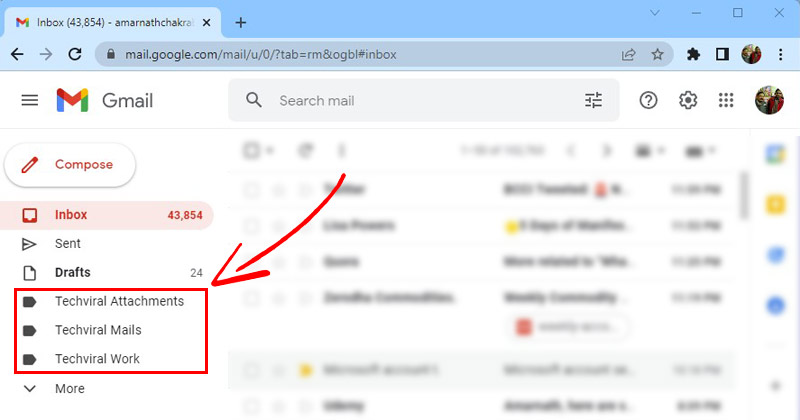
If you use Gmail for business purposes, or if it’s the only means of communication, your Gmail inbox might already be cluttered with hundreds of emails. You might find it difficult to find emails that you want to read or reply to. Gmail offers users a Labels feature to deal with such issues. The Labels in Gmail are similar to folders in Windows. You can create different labels and put relevant emails on them.
Steps to Create Labels in Gmail to Organize your Emails
This article will share a step-by-step guide on creating labels to organize emails in Gmail. Hence, if you are interested in creating labels in Gmail to manage your emails and declutter your inbox, you might find this article very useful. Let’s check out.
1) How to Create Labels in Gmail
If you want to group emails into Gmail folders, you must create a label first. Here are some of the simple steps to create a label in Gmail.
Open your favorite web browser and log in to your Gmail account.
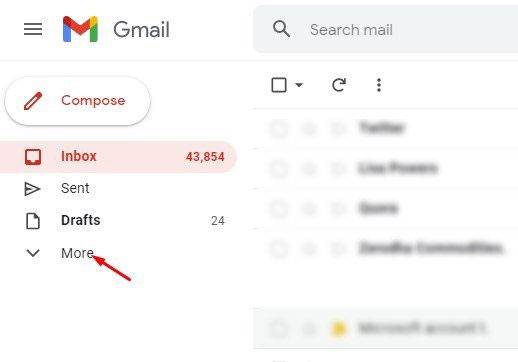
On the left pane, click on the More button below.
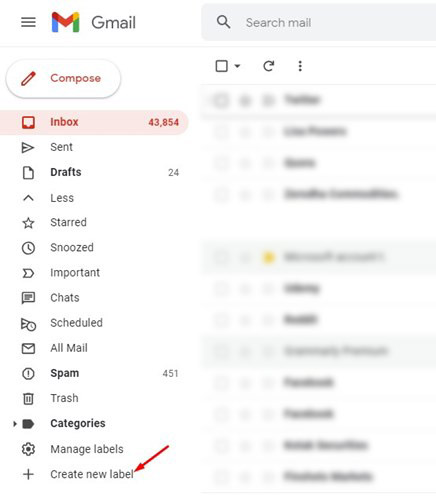
On the expanded menu, scroll down and click on the ‘Create new label’ option.
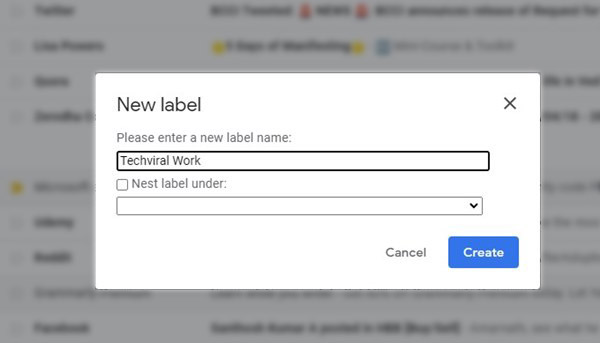
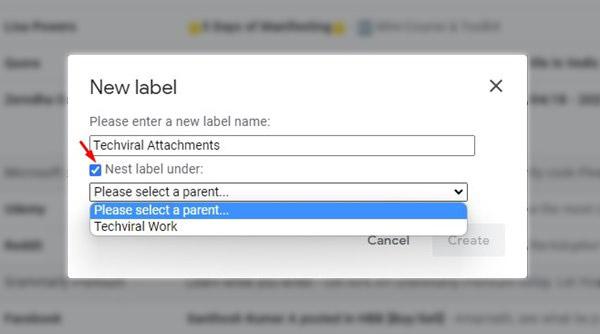
On the New label pop-up, enter the label name and click on the Create button.
5. If you want to put this label inside another label, check the ‘Nest label under’ option and select an existing label.
That’s it! You are done. This is how you can create a label in Gmail for a desktop.
2) How to Move emails to the newly created label
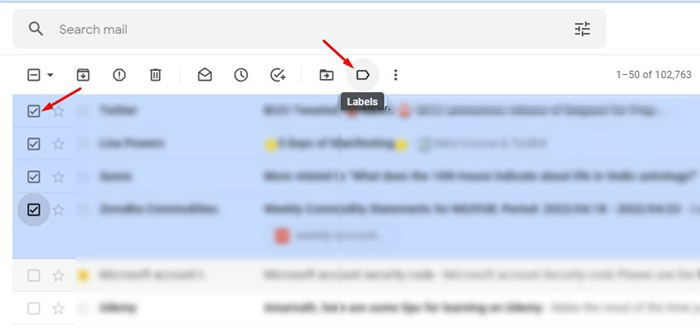
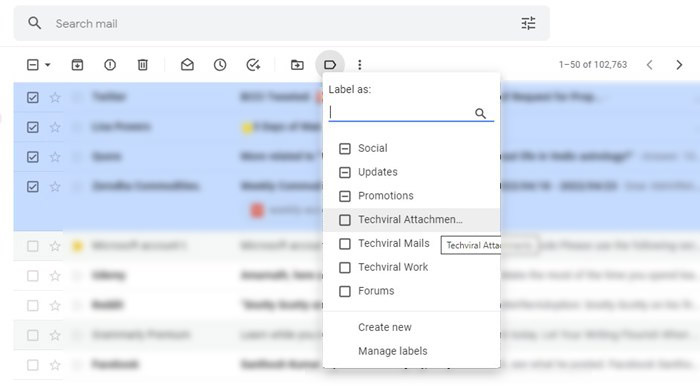
After creating a new label, you might want to add emails to it. You need to open Gmail.com on your web browser and log in to your account. Next, select the emails you want to move, and click on the label icon below. Now select the label name and click on the Apply button.
That’s it! This will move emails to the new label in Gmail. You are done.
3) How to Delete a Label in Gmail
If, for any reason, you want to delete a label in Gmail, then you need to follow these steps. Here’s how to delete a label in Gmail.
First, open your favorite web browser and log in to your Gmail account.
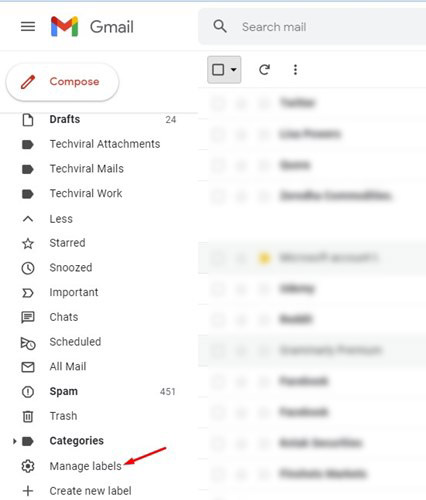
On the left pane, click on the More button below.
On the expanded menu, scroll down and click on the Manage labels option.
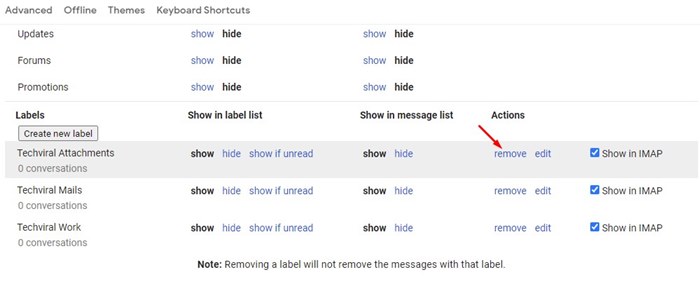
This will open the labels settings. Here you need to click on the Remove link behind the label name.
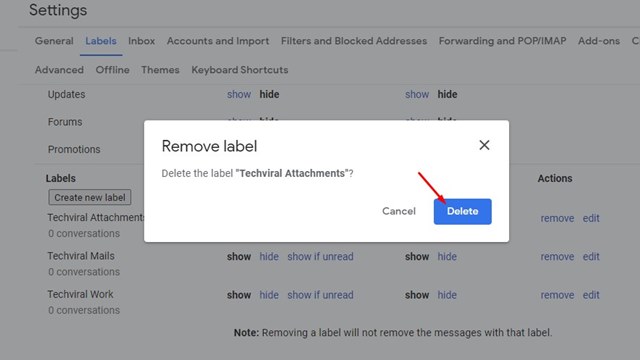
On the confirmation prompt, click on the Delete button.
That’s it! You are done. This is how you can delete a label in Gmail in easy steps. So, that’s all about creating labels in Gmail to organize emails. You can create as many labels as possible to organize your emails in Gmail without restrictions. For more Gmail tips and how-tos, stay connected with Techviral!
Δ