The same goes for the latest operating system from Microsoft – Windows 11. What’s more useful is that Windows 11 allows you to change the account type after it’s been created. This means you can easily change the account type of your family members and make them an administrator. While providing administrator access to guest accounts is not recommended, you can change the account type to Administrator if you are the PC owner and using a standard account. Doing so will provide you with complete control of the device and apps. Additionally, changing the account type to Administrator will eliminate the need for manually running apps in Administrator mode, ‘Run as administrator’. Similarly, if you want to provide a specific user account in a more secure environment, you can switch the account type to Standard user.
Best Ways to Change Account Type on Windows 11
Changing account type on Windows 11 is pretty easy; you can do it via the Settings app or Control Panel. Below, we have shared two best ways to change account types on Windows 11. Let’s get started.
1) Change Account Type using Settings
You can use the Settings app to change the account type easily. To change account type on Windows 11 using settings, follow some of the simple steps we have shared below.
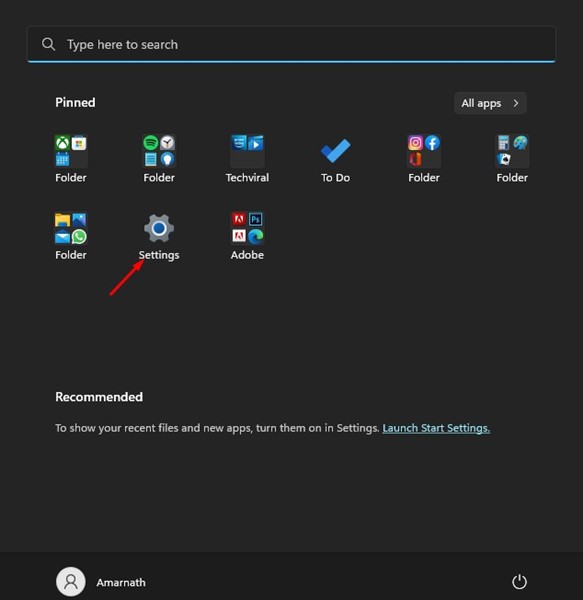
First, click on the Windows 11 Start button and select Settings.
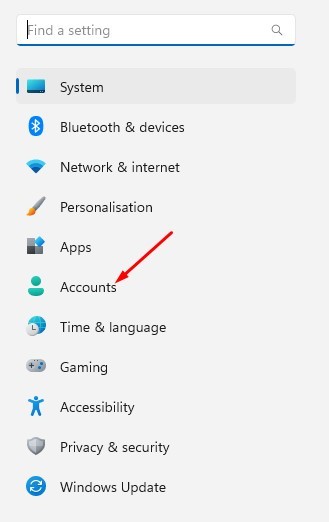
On the Settings app, switch to the Accounts tab on the left pane.
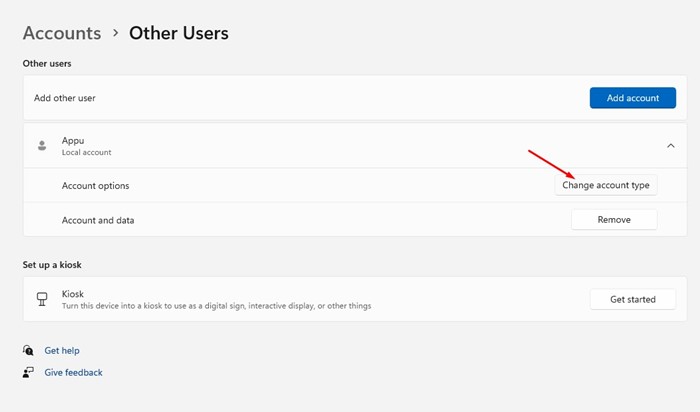
Now, on the right side, expand the account and select the Change Account type button.
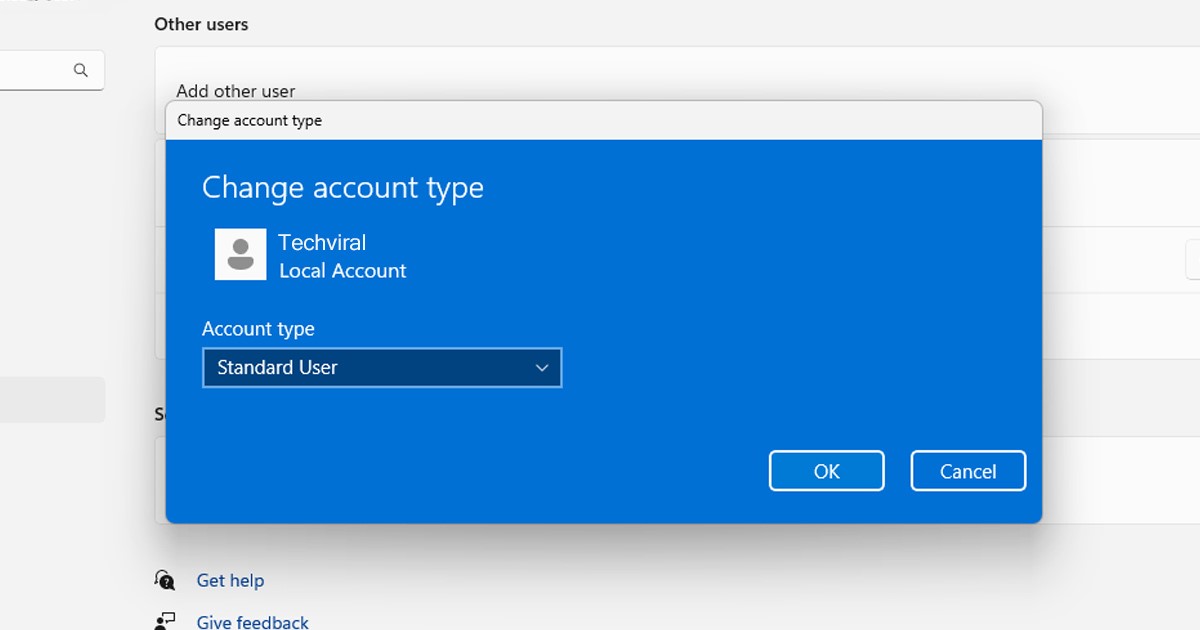
On the Change account type window, select either Standard or Administrator. Once done, click on the Ok button.
That’s it! This is how you can change the account type on Windows 11 computer. Make sure to restart your computer to apply the changes.
2) Change Account type using Control Panel
This method will use the Control Panel to change the account type. Follow some simple steps shared below to change account type via the Control panel.
Click on the Windows 11 search and type Control Panel.
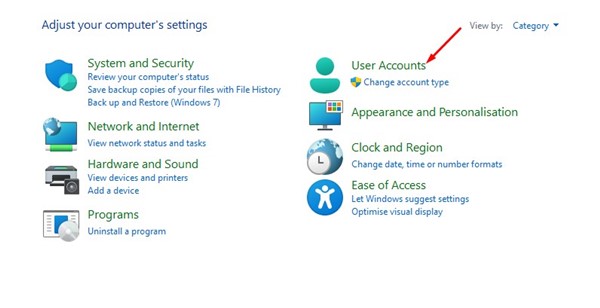
On the Control Panel, click on User Accounts.
Select the user account you want to change the type for.
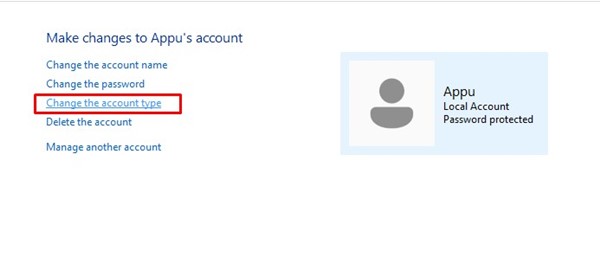
On the user account page, click on the Change the account type link.
On the Choose a new account type Window, select either Standard or Administrator. Once done, click on the Change Account type button.
That’s it! This is how you can change the Account type on Windows 11 using Control Panel. Also read: How to Switch User Accounts in Windows 11 So, these are some simple ways to change account type on the latest Windows 11 computer. If you need more help changing the account type, let us know in the comments below.
Δ